SLAB SELECTION

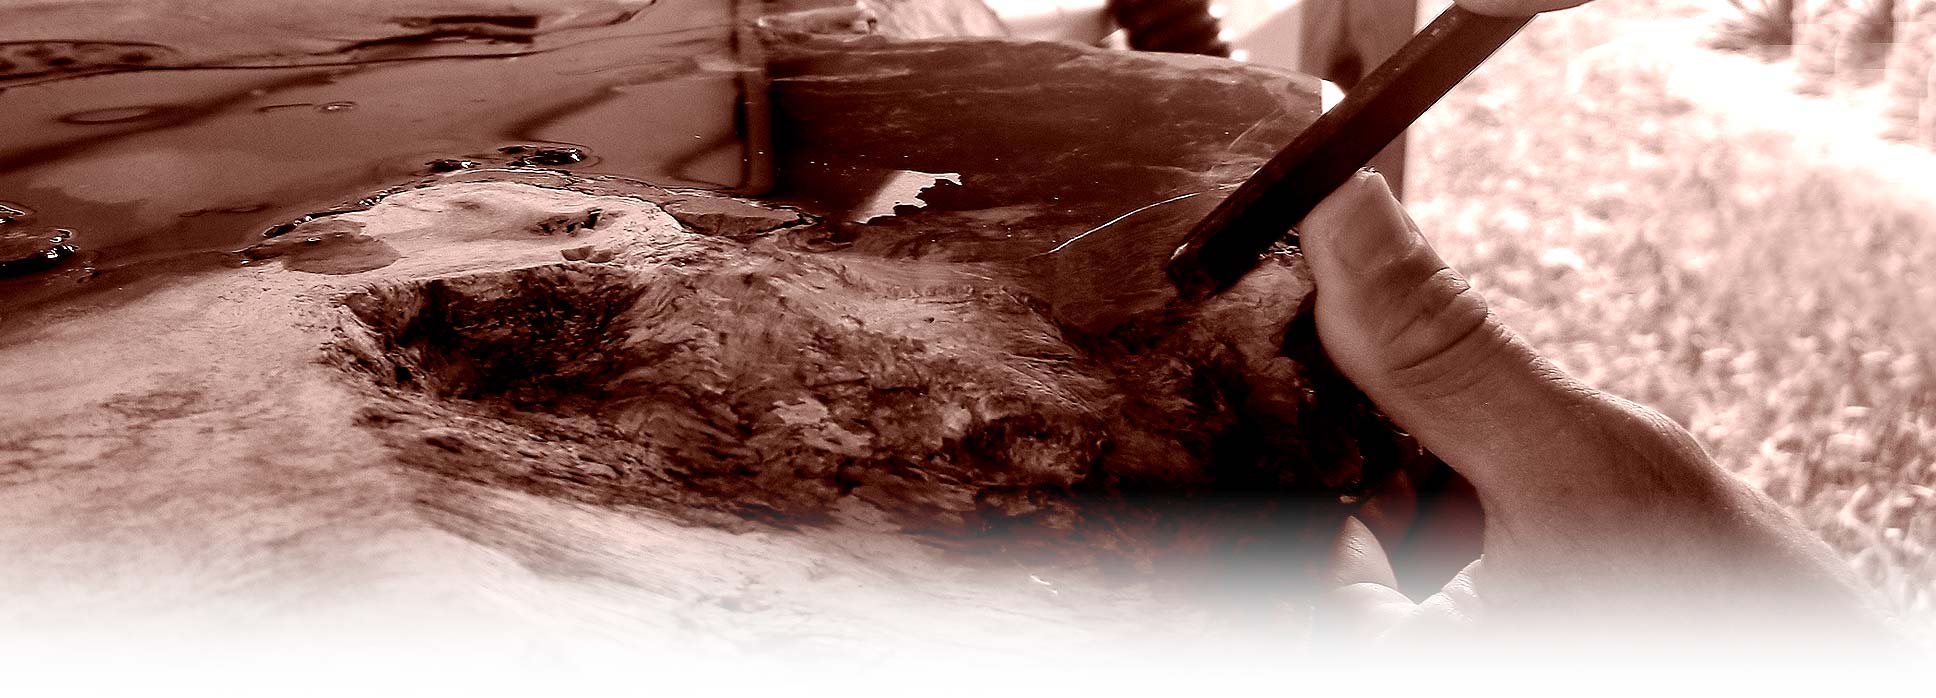
I choose live-edge wood slabs using a variety of criteria.  My first impression of a raw piece often generates feelings of awe and wonderment from its natural beauty, followed by excitement of potential, and upon touching it, a sense of humility upon my hands that begins the reverence I experience with each piece throughout my time with it.

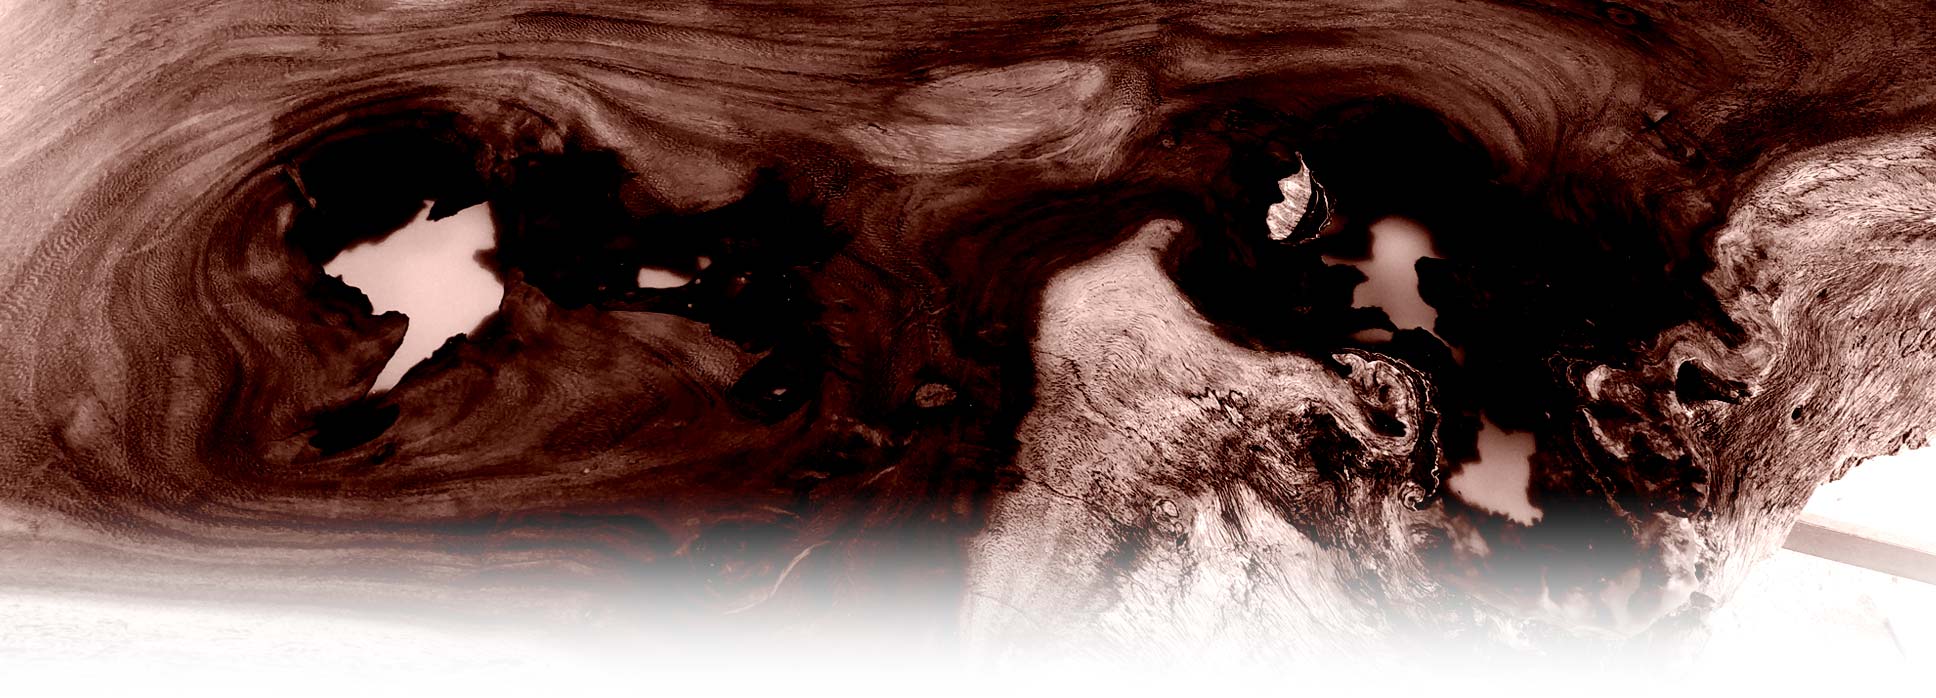
Often, I seek wood species I may not have worked on before, to open the door to new woodworking experiences, while it is generally easier to pick an old favorite, or look for qualities expressed by a customer’s special request.  In any case, I look for irregular shapes/cuts, voids, notable color and grain, and consider linear dimensions and thickness. Some species are dense or softer woods. Others possess outstanding live-edge features. All such criteria contribute to the final piece, whether driven by a customer’s vision or crafted by me on my path with the wood.

INITIAL WOODWORK

Preparation is key, and once a decision is made as to what a final piece is to be (i.e. shelf, table, bench, cutting board, etc.) I determine its overall size, and carefully cut it down, making every effort to preserve live-edge and natural shape qualities that will contribute to its personality.  Although my wood supplier planes his slabs pretty well, I take a closer look to see if additional leveling is needed using a simple router-sled to shave off as little as necessary.

From time-to-time however, I may even choose to leave a slab slightly uneven, as long as it won’t negatively affect the functionality of the piece, in an effort to preserve unique areas or slab thickness, etc. (I will always note this in the product’s final description).

SANDING AND SHAPING

Once final planing and leveling is completed, I’ll use a 60-grit belt sander to remove deep ridges and grooves from the main surfaces, typically followed by a random orbital sander ranging from 100-220 grit.  I evaluate the live-edges, remove the loose bark, and sometimes leave bark segments that I feel are secure enough or can be secured and sealed for the life of the piece. A variety of tools such as a jigsaw, Dremel and file implements may then be used to shape the piece.  

Placement of holes that will accomodate legs, hanging rods/hardware and the like, will be determined before moving onto a finishing sander with 320-400 grit sandpaper. When addressing some epoxy filled areas I may use an even finer grit (800-1000+) to help bring out a better shine during polishing.  Compressed air blows fine sanding dust from the wood pores and an acetone wipe will remove remaining residues prior to oiling and finishing.

EPOXY USE

My decision to make use of epoxy is a very selective process.  Because while its properties and benefits can be extremely helpful in filling large voids and cracks, and help strengthen and even beautify certain wood slabs, it is after all a synthetic substance being added to a natural piece of wood.  Some may argue against its use altogether, while others find it an attractive addition that gives the final product a real “wow factor”. I generally use clear and amber colored epoxy, but can also tint them to a customer’s color preferences.  

I do find it a bit fun to use too, as it allows for artistic creativity, but I often consider how long a piece is designed to last because the naturalist in me wants to keep the epoxy out of the environment. As with all my work, I want to remain flexible to satisfy my customer’s desires, while staying true my instincts and values.  This subject is something of a balancing act for me.

WOOD CONDITIONING AND FINISHING

Depending on factors such as the environment, moisture/food exposure, light or heavy use areas and/or customer preference, I make use of many different wood treatments and finishes to achieve the end desired result of the piece.  While some folks prefer a high-gloss look, others may like a satin or matte finish. Knowing where and how you will use the product will help determine whether it receives natural oils and food-safe waxes for indoors and kitchens or high-resistance polyurethanes and varnish for outdoor use.  

Applying techniques (brushing vs. wiping, for example) will also vary in achieving the perfect final look, and the number of coats will depend on wood absorption, desired surface look and level of protection.

Interested in a custom project